  |
|
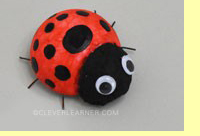
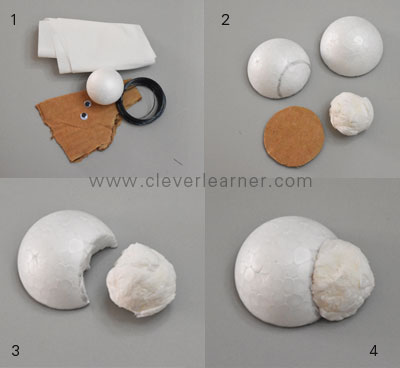
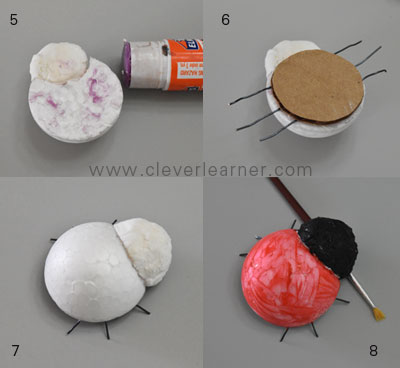
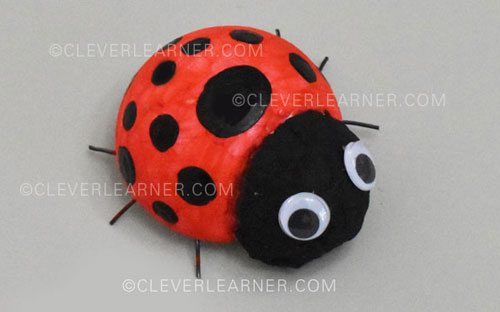
Squeeze some white paper glue onto the tissue paper and roll it in your hands to make a small ball for the ladybug's head. Patience!! Let it dry out a bit. Now apply some dry paper glue to the hole and tuck the ball into the circle. Wait for it to dry. When it is dry, use your scissors to trim off the wires to make the legs shorter. The ladybug is done. Now is the time to color. Prime the entire body with red and the head with black. The styrofoam is a bit tricky to color, but after one priming, the second application of red will be brighter. Then put the black dots randomly on it. Apply glue to the eyes and stick t there. Ladybugs do not have to be red and black. There are other colors too so feel free to use brown and black or yellow and black. Be creative with color. I hope you had fun. Make sure you share your results with us on facebook.
|
...
SEE OTHER ACTIVITIES AVAILABLE ON CLEVERLEARNER
ALPHABET | SHAPES | CRAFT ART | NUMBERS | DRAWING | GAMES
Copyright © 2010-2017 cleverlearner in association with BusinessGhana.com.
All Rights Reserved.


