  |
|
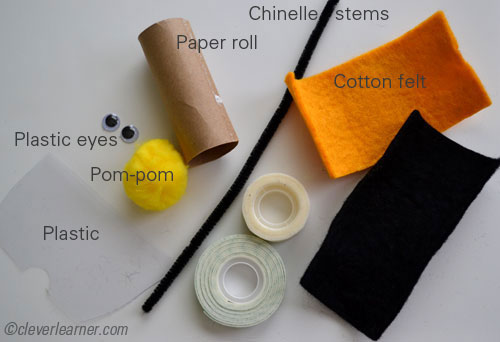
Materials Needed:
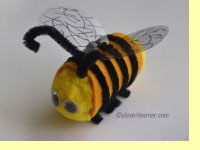
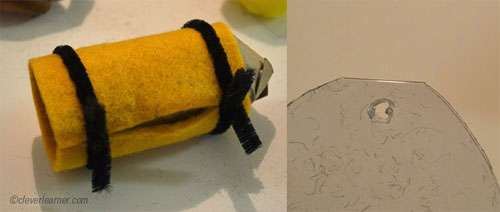
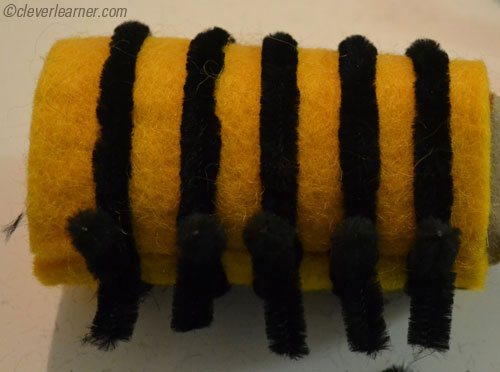
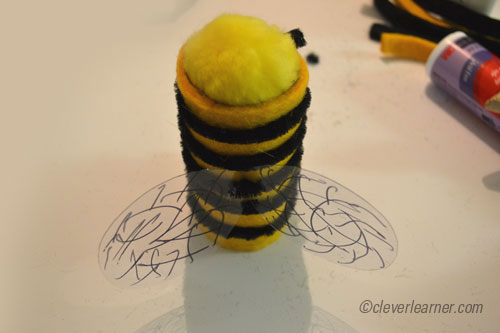
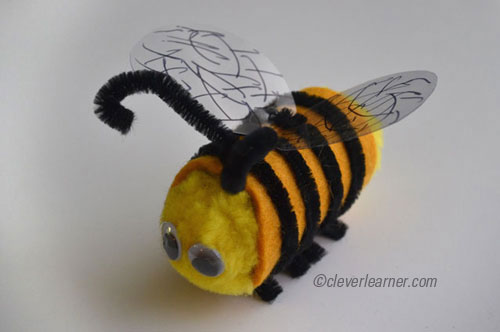
Cut a good size of the wool felt and secure it with the black felt. No need for glueing, just twist the stem where the two ends meet. Leave a bit of the felt as legs for the bee. Add more stripes as you wish. Fold out a piece of flexible plastic into 2 and cut out the wings. Make a hole through the plastic so that the chinelle stems can run through. Secure the wings with the stems to the the top middle of the strips. If you like, you can design the wings to make it more interesting. Add one pom-pom to one end of the roll. If yo have a good size of the pom-pom, it will fit in the hole with no worries. This makes the back of the bee. Cut out a good length of the stem for the antennas, and secure it to the first stripe of the beed (closest to the head). Take the second pom-pom and add stick the eyes to it with a good adhesive (glue). There you go, always fun. There is no hard rule about how craft is done. Just use your imagination and try out various ways of making it look prettier. Hope you enjoyed it. |
...
SEE OTHER ACTIVITIES AVAILABLE ON CLEVERLEARNER
ALPHABET | SHAPES | CRAFT ART | NUMBERS | DRAWING | GAMES
Copyright © 2010-2017 cleverlearner in association with BusinessGhana.com.
All Rights Reserved.

