|
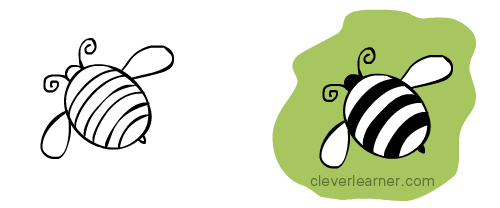
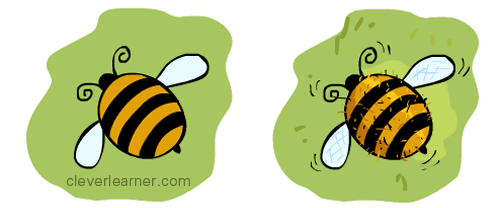
3. There you go! Add the wings, something for the head and a tiny triangle for the back (how do you call it... tail?... whatever) Now get some colours ready to bring it to life! 4. For the background, choose any colour, no need to use green, just because I used it. The bee could be flying over a red petal... be creative, choose any natural colour. Now add black alternating stripes to the bee's body. Got it?
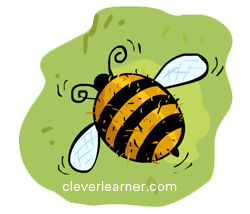
5. My goodness... check it out! Throw in some yellow into the other blank areas on the body. Notice that we used a very light blue for the wings. Do not leave it white, just fill the wings with something light. The wing is translucent so it will take very light tint of the background (under) colour. 6. Now put in some texture. You can just kriss-kross the wings, and just splash some hairs on the body. And oh, the bee is flying so make motion marks on the by the wings and all over. Do the same to the background and tadaa... the bee just buzzed off!
|
...
SEE OTHER ACTIVITIES AVAILABLE ON CLEVERLEARNER
ALPHABET | SHAPES | CRAFT ART | NUMBERS | DRAWING | GAMES
Copyright © 2010-2016 cleverlearner in association with BusinessGhana.com.
All Rights Reserved.


